

Coding with AI: A community member’s workflow
Learn to manage multiple AI models to create professional applications without coding skills.
Many AI coding workflows are designed by experienced developers who can quickly spot and fix any mistakes the AI makes. However, for those without a coding background, these workflows often fall short—sooner or later, you'll encounter an unresolvable bug or a fundamental flaw in the AI-generated code that you may have overlooked.
On the other hand, AI-powered app builders provide a quick way to create an MVP but offer little insight into how your project actually works under the hood. This trade-off leaves non-developers with either a steep learning curve or limited control over their projects.
That’s why I’ve developed a custom AI coding approach that gives you full control over your code and development, even if you have no programmer background.
To ensure that AI can effectively resolve future bugs, this workflow integrates the best practices of top development teams: detailed project documentation, meticulous version control, and extensive testing. The only difference is that instead of working with a team of developers, you orchestrate various LLMs and AI-coding tools.
In this post, you’ll learn how to:
Build a robust and universal AI coding workflow
Design a well-thought-out project architecture using reasoning models
Run all the development on your cloud server
Debug code effectively with AI
Implement a well-documented version control system
Learn to stop worrying and love the command-line interface

This workflow is LLM and app agnostic, so you can easily adapt it to your tool stack. Nevertheless, here are the tools I'll be using:
Claude Pro account
ChatGPT Plus account
Google AI Studio (Free)
DeepSeek (Free)
Cursor (Pro is more convenient, but isn't required)
Digital Ocean Cloud Hosting (or other)
You don’t need any coding skills to follow this tutorial, but an understanding of web development, technologies, and tools can be helpful. That said, you can always ask LLMs to break down any concept in detail—so let’s dive in!
Building a robust AI coding workflow
I believe that a robust AI coding workflow should be built on three core principles:
AI-only development
This workflow should rely only on AI knowledge and not on human expertise. Basically, if you need human advice, it means the AI workflow has failed you. That's why we need to use only the most popular technologies, services, and programming languages that AI knows a lot about.
Adaptability to the rapid evolution of AI
Every LLM, app, or tool in your workflow should be easily replaceable with the latest and most effective alternative. Otherwise, this workflow will be out of date by the time you read this.
Native testing and logging
Building something with AI is easy, but making it work exactly the way you want is a real challenge. If you don't have a coding background, the best approach is to create tests for each new feature and keep detailed logs (more on this later). That's why we run development on our cloud server, where AI can set up all the testing and logging systems you need.
So, following these principles, my workflow looks like this:
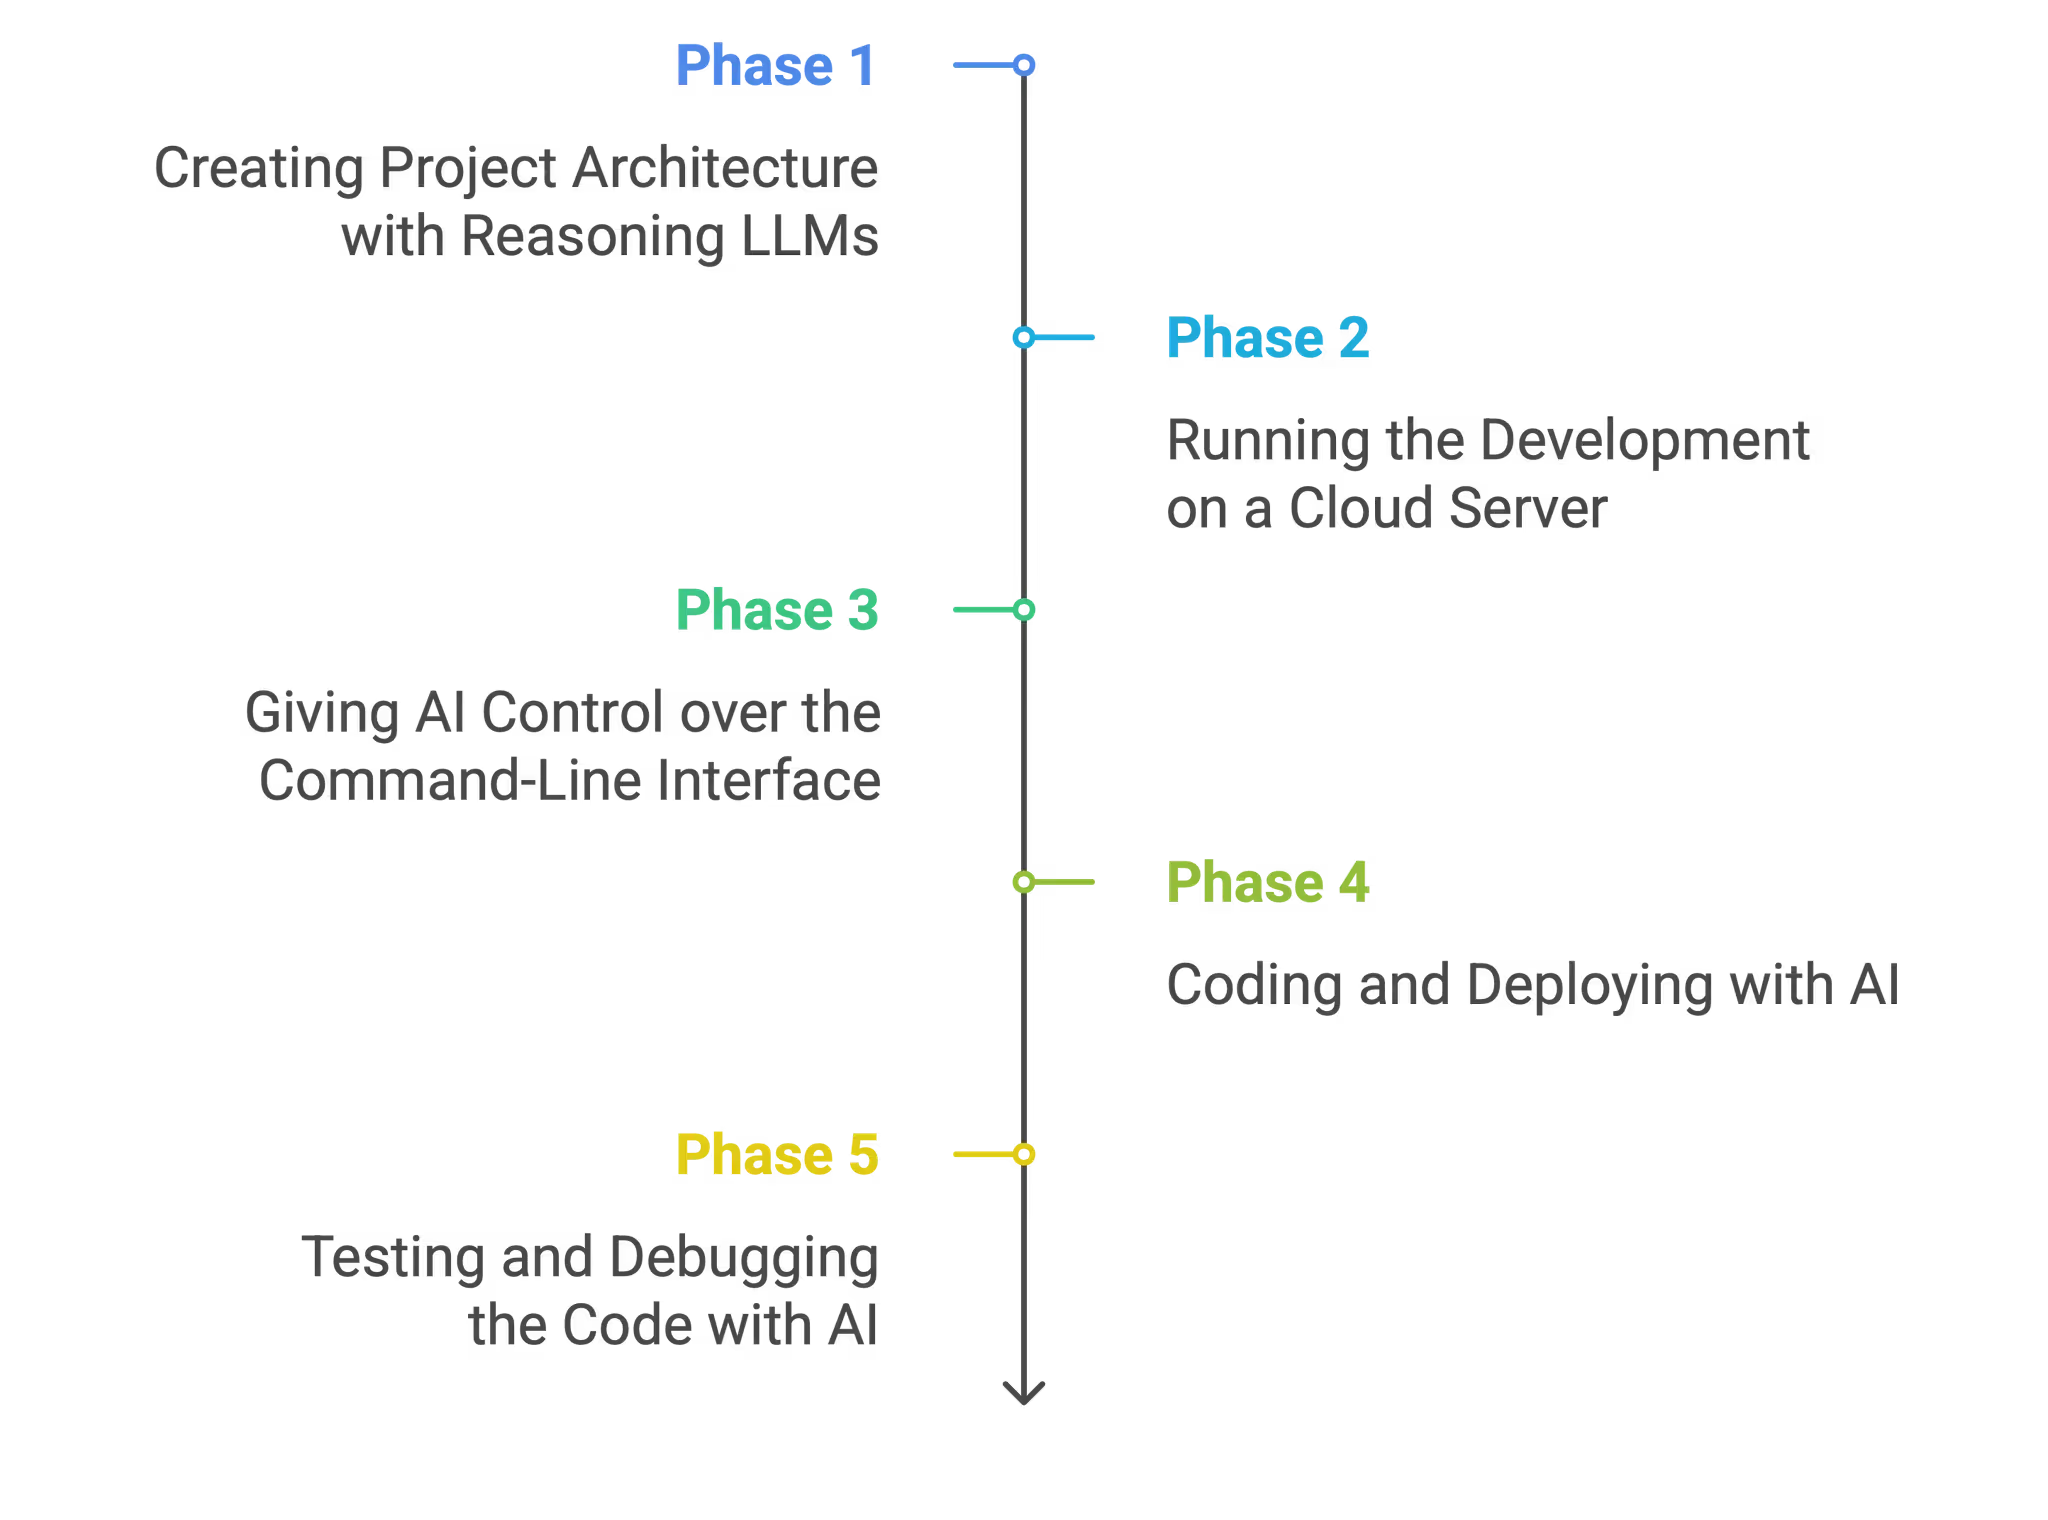
Let’s take a closer look at each phase of this workflow:
Phase 1: Creating project architecture with reasoning LLMs
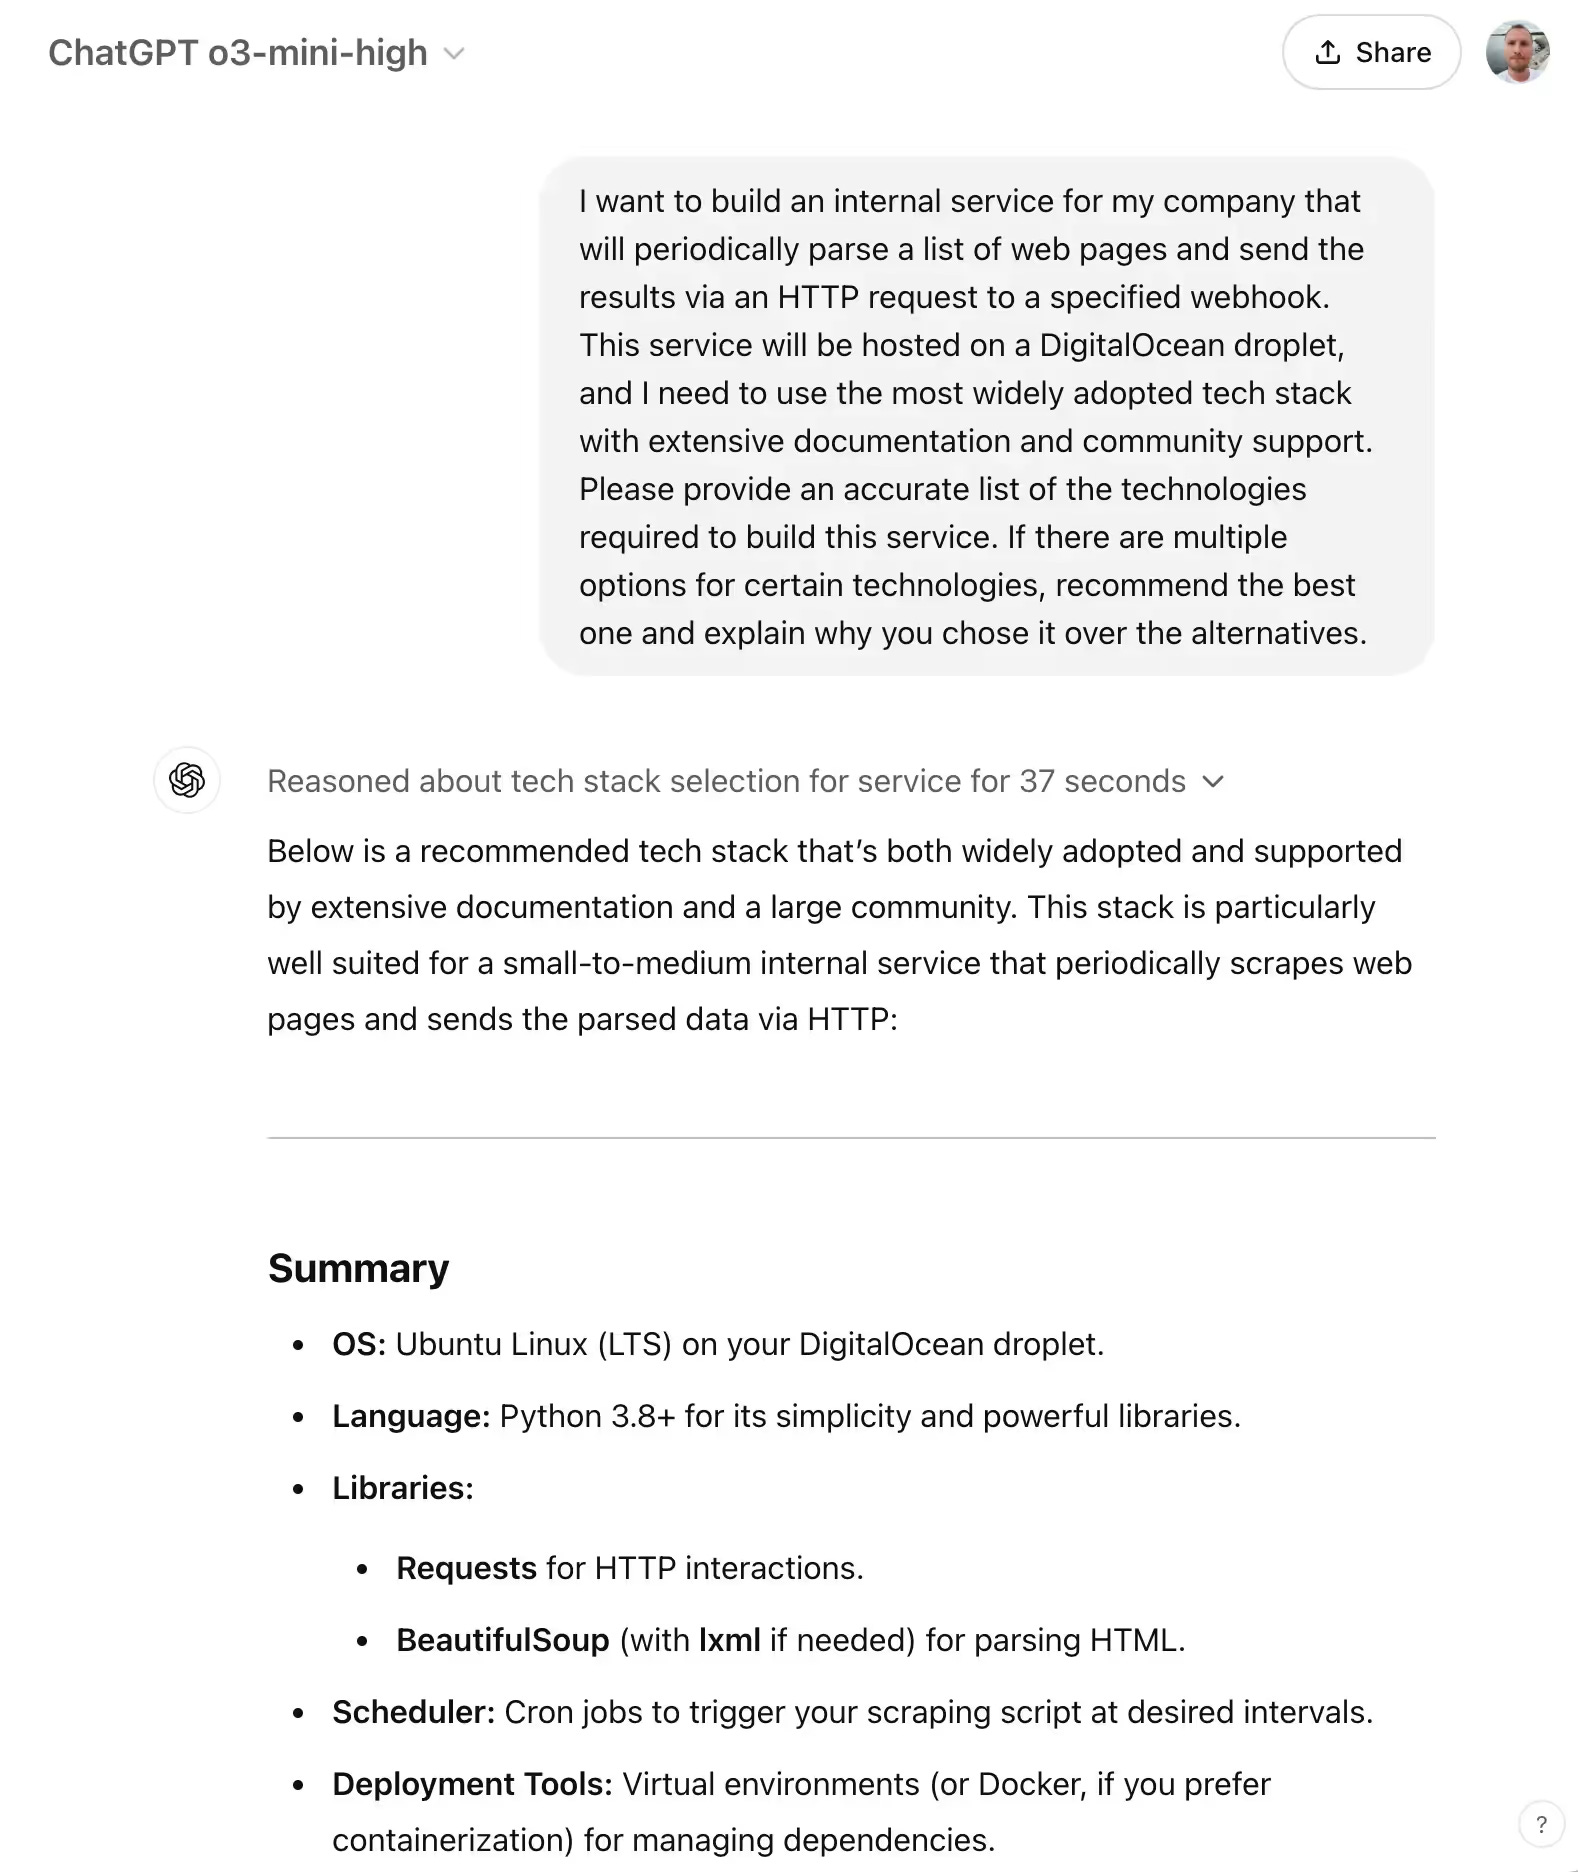
We start by discussing our project's tech stack and backend/frontend architecture with top reasoning LLMs: OpenAI o-family, Gemini 2.0 Flash Thinking, DeepSeek R1, or other top models available by the time you read this post (and if reasoning models are still a thing).
Be sure to mention to the AI that we're going to use only the most common technologies, as this will make it easier for the AI to debug the code.
💡 Tip: Prompting reasoning models is different from working with chat-driven models like ChatGPT-4o or Claude 3.5 Sonnet. Chat-driven LLMs are designed to develop answers over the course of a conversation, refining their answers as you provide more details and feedback. Reasoning LLMs, on the other hand, perform best when given extensive context upfront, along with a clearly defined expected outcome. For a deeper dive, check out this excellent guide to o-1 prompting.
I give all the top LLMs the same project context and description and ask them to recommend the best tech stack and architecture for the project.
While their suggestions are often quite similar, the key insight comes from understanding why they disagree on certain aspects.
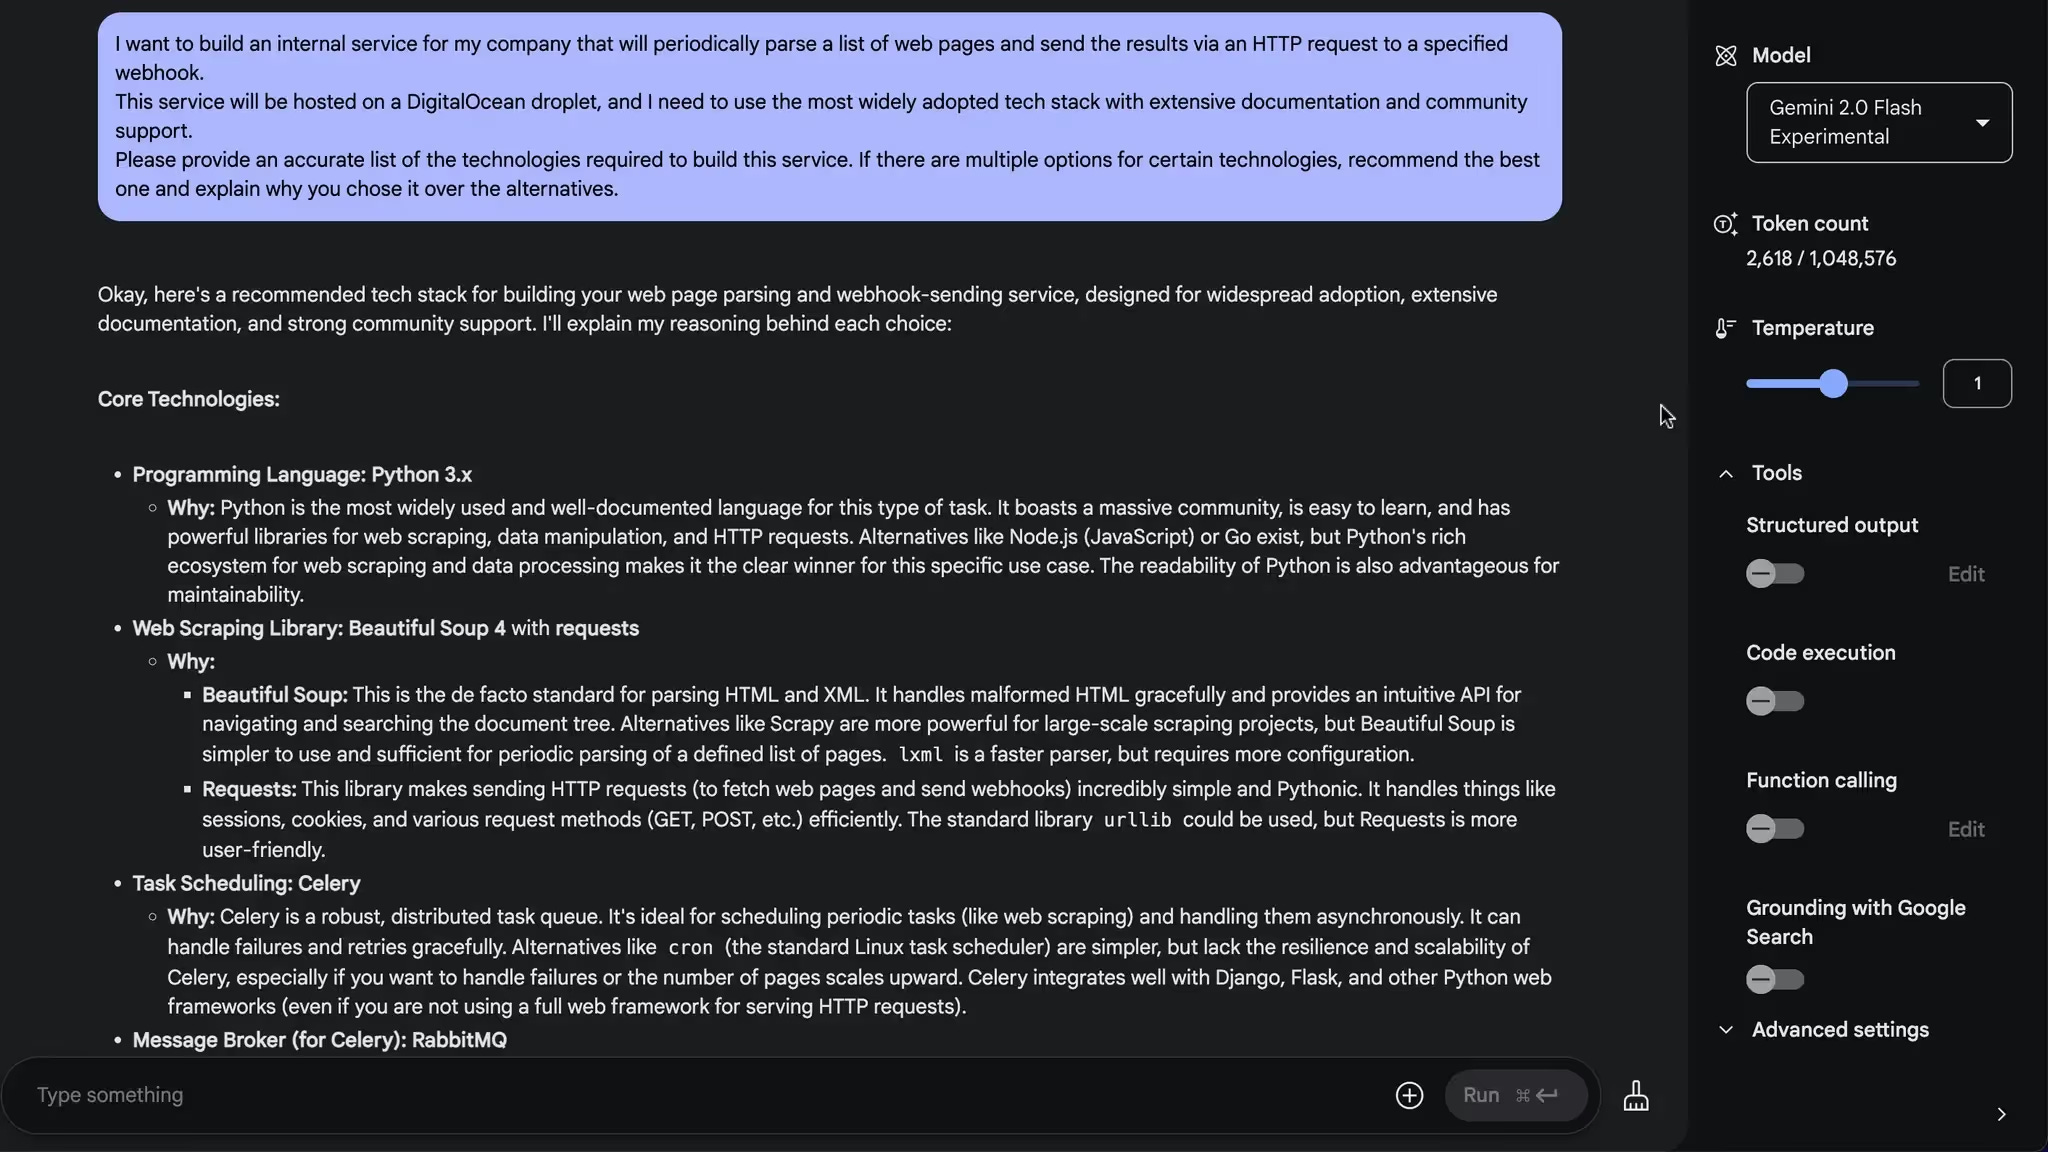
So, I'll ask the o3-mini-high model:"My colleague programmer suggested that [some of Gemini 2.0 Flash Thinking’s recommendations] would be a better fit for this project. What are the pros and cons of following this advice?"

Next, you can take the o-model's response and show it to Gemini 2.0 Flash Thinking or DeepSeek R1 to see how they judge these arguments. This back-and-forth analysis helps you understand the trade-offs and strengths of each approach better.
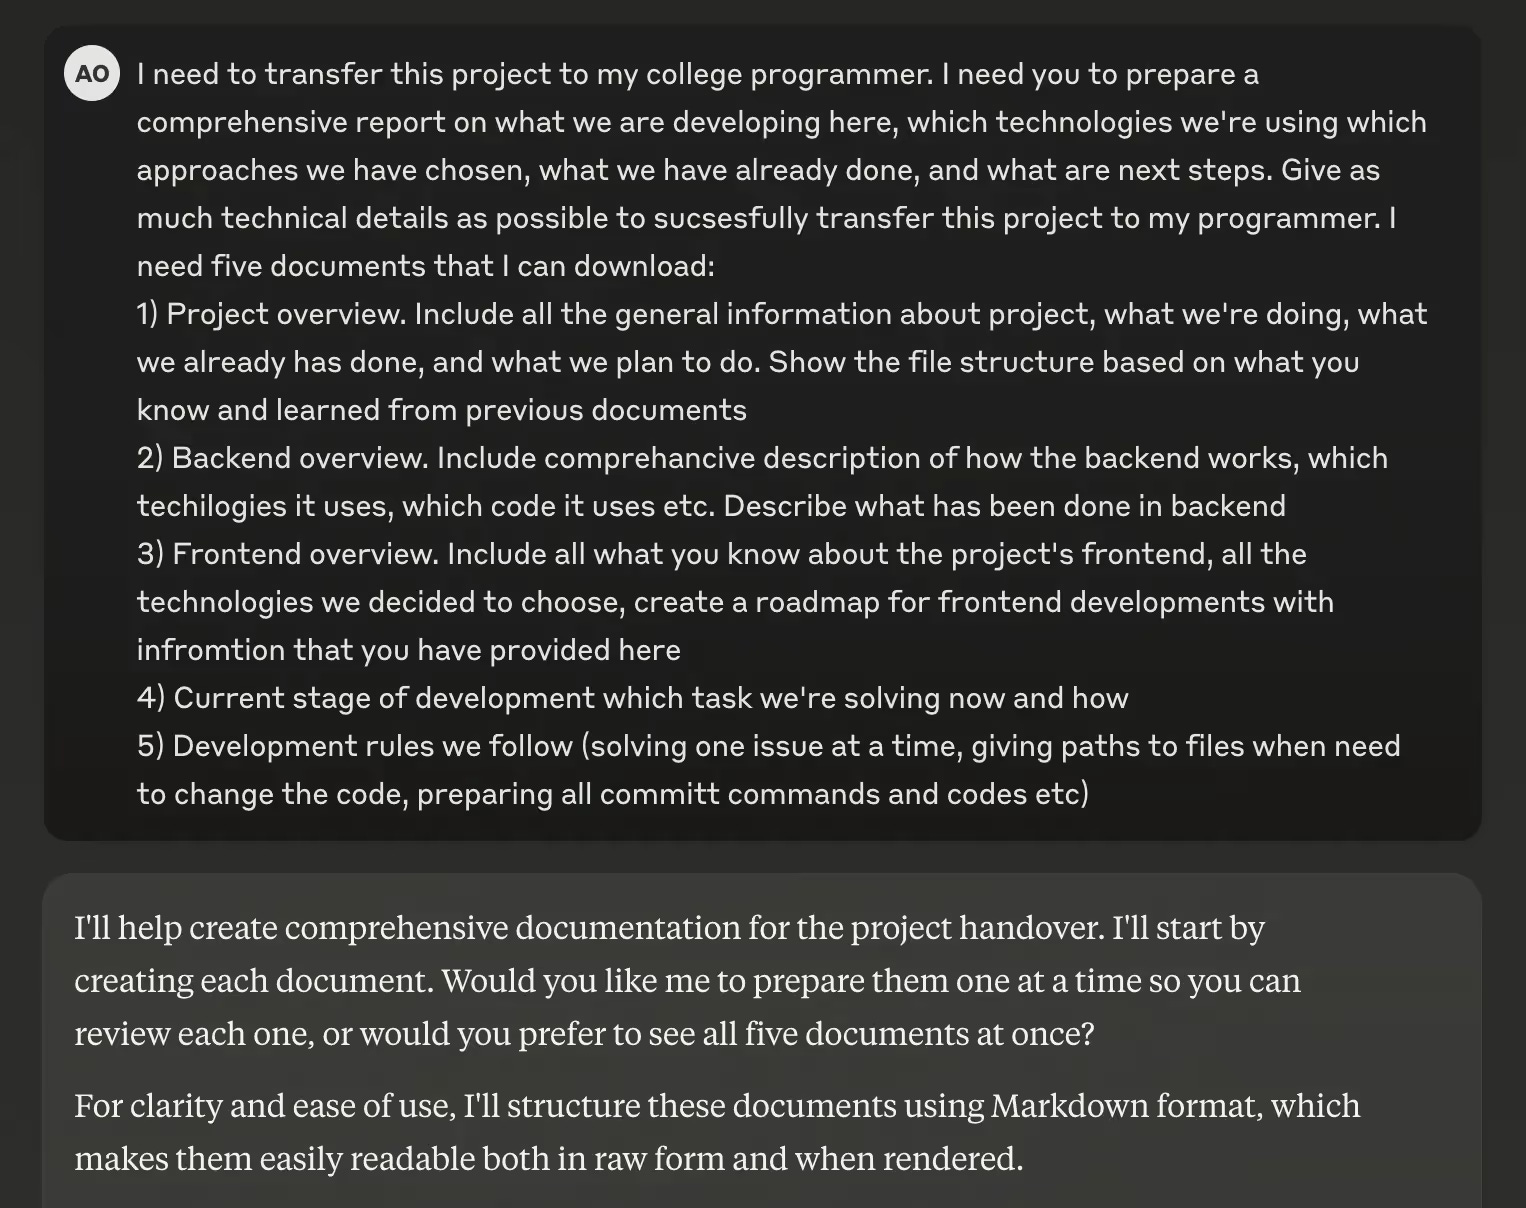
When the discussion is done, ask an LLM to generate five key documents:
Project Overview – A general description of what we're building, including the vision for how the final product should function.
Backend Overview – A detailed breakdown of the backend tech stack, architecture, and approaches.
Frontend Overview – The same level of detail, but focused on the frontend technologies.
Development Rules – A set of guidelines that LLMs should follow throughout the coding process to maintain consistency and quality.
Next Steps – A structured outline of the most logical next steps in development.
These documents are critical for future AI coding. Just like human teammates, LLMs need a clear, shared understanding of the project to ensure consistency and alignment throughout development.
Here is what my Development Rules file looks like:
# Development rules you must follow
## You work on only one problem, task, or file at a time.
If you need to update multiple files or solve multiple tasks, you choose only one task, and you don't move on to other tasks until that task is complete. The task is complete when it's tested and committed.
If you need to update multiple files, you update them one at a time.
## You create automated tests whenever possible. When you solve tasks, you always create automated tests to see how your solution works..
## You implement logging whenever possible
When you solve problems, you always create systems that log events to find out what went wrong in case something doesn't work.
## You provide terminal commands when I need to create a file, install components, or perform some action on the server.
Keep in mind that I'm not familiar with web development, and you always need to give me direct commands with correct paths. You always give me the path to a file that needs to be updated.
Now that we have all of the technical documentation, we can move on to the next phase.
Phase 2: Running the development on a cloud server
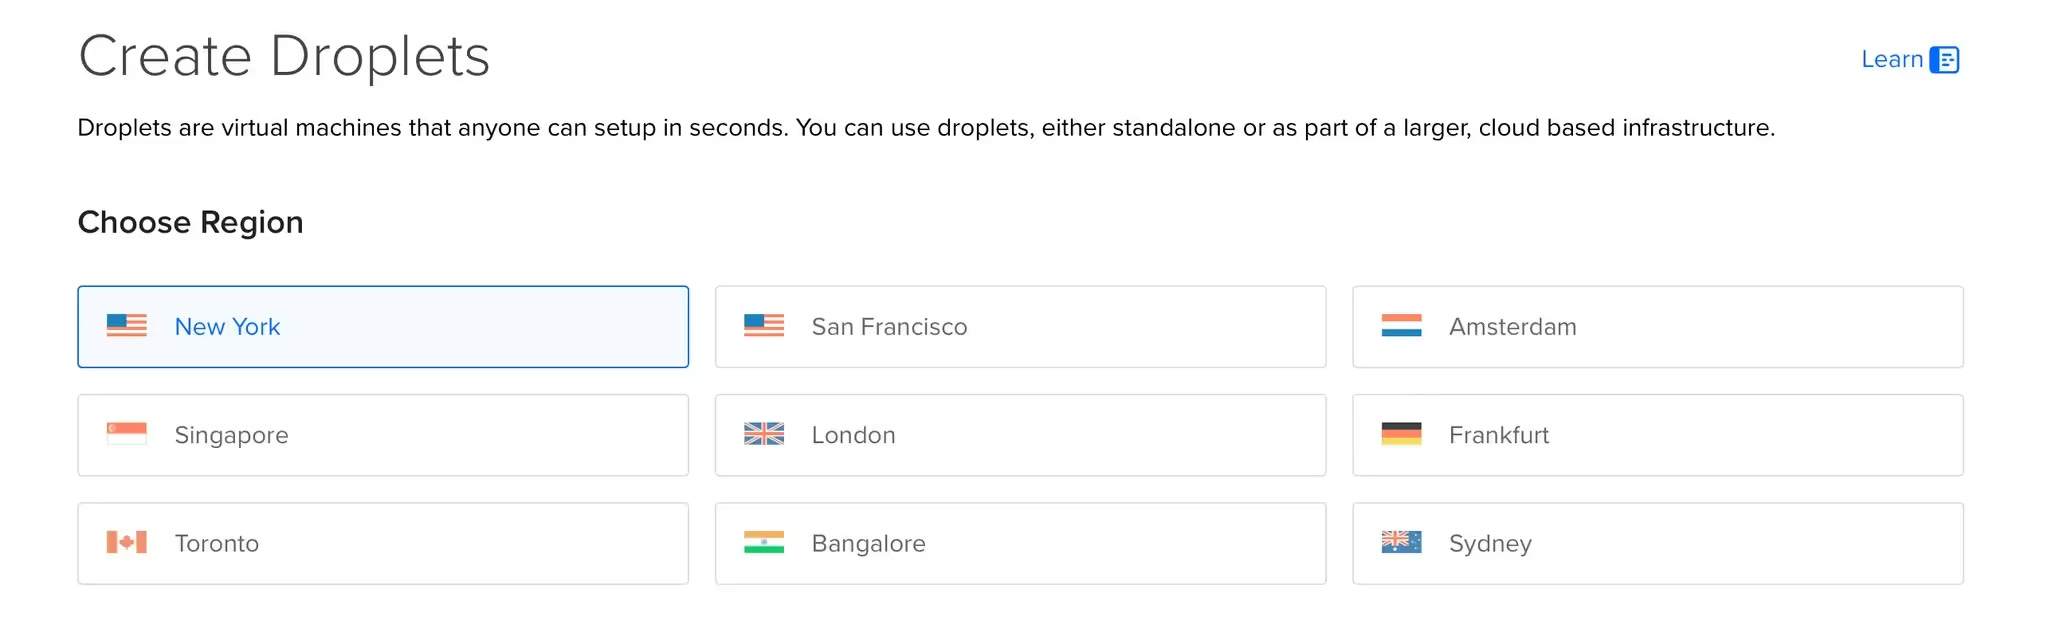
I run all development directly on my DigitalOcean cloud server. In DigitalOcean, these virtual machines are called droplets, and they're Linux-based environments that give you full control over your project. Of course, you're free to choose any hosting provider you want—there are plenty of great options out there!
If you're a professional developer, this approach may seem unconventional (or even shocking), but hey—we're hobby builders and we're here to have fun! And trust me, developing on a cloud server adds a whole new layer of excitement to the process.
First, it’s amazingly convenient. You simply access your virtual machine via SSH in Cursor, VSCode, or other coding apps. Once connected, you can work with it as if it's your local machine:
If you're not familiar with SSH, think of it as a secure password that gives you access to your virtual machine in the cloud. There are plenty of step-by-step guides on YouTube for setting it up in Cursor, VSCode, and other coding apps. And if you ever run into issues, LLMs can walk you through the process.
Best of all, you can set up your entire development environment in the cloud—meaning you don't have to install Node.js, npm, or other development tools on your local machine. Everything runs remotely, keeping your system clean and hassle-free!
Second, developing on a cloud server lets you test your project in a real working environment right from the start. This eliminates a lot of the headaches that happen when you're developing on a local machine and running into unexpected problems during deployment.
Third, it's just so cool to see your changes reflected in your project the moment you save them!
💡 Tip: To work comfortably with Cursor over SSH, I recommend renting a virtual machine with at least 2 GB of RAM. Also, make sure the server is physically located in your region to minimize latency and improve performance.
Now comes the final—and perhaps the most painful—step before we dive into AI coding: embracing the command-line interface.
Phase 3: Giving AI control over the command-line interface
The command-line interface (CLI) always felt like the most lifeless thing to me. It just sits there, staring at you with its dark background, silently waiting for you to type something. And if you have no coding background, you might find yourself thinking: What on earth am I supposed to enter here?

Virtual machines in the cloud are all controlled via CLI, and before AI, this was a complete deal-breaker for me. I had no idea how to use it—and honestly, I had zero willingness to figure it out.
But then AI changed everything.
The CLI is a text-based interface, which actually makes it the perfect match for LLMs. AI can easily guide you through every step—whether it's installing necessary components on your server, creating files, running tests, or even analyzing logs.


With AI's help, working with the CLI becomes way less intimidating—and maybe even kind of fun!
💡 Tip: In the world of the CLI, passwords aren't visible as you type them (genius UX decision, yes). There are no asterisks (*), no dots (●), nothing—just a blank line. But don't worry, your password is entered, the CLI just hides it for security. It took me hours to figure this out—now you don't have to!
LLMs might think that you're familiar with CLI; that's why we have this part in the Development Rules:
## You provide terminal commands when I need to create a file, install components, or perform some action on the server. Keep in mind that I'm not familiar with web development, and you always need to give me direct commands with correct paths. You always give me the path to a file that needs to be updated.
Before AI, the mere sight of the CLI made me miserable. I was always looking for tools with a nice, user-friendly UI to avoid dealing with it. Now I love to see a CLI in a tool! Because it means I can do anything with it, even if I have zero understanding of how the tool works.
So if you ever need to do something on your server, just ask an LLM to give you a step-by-step list of the exact CLI commands, and let the AI do the heavy lifting.
Ok, we're ready to start the really fun part: coding and deploying with AI!
Phase 4: Coding and deploying with AIFirst, let’s set the right mindset:
We are not AI developers.
We are managers of a team of AI developers.
Treat LLMs that way and you'll get the best results.
Now, as managers, our job is to find the right talents (LLMs) for the right tasks. Currently, my coding LLM of choice is Claude Sonnet, but this workflow is LLM-agnostic, so it can change quickly.
Since coding chats in Claude tend to get too long, which affects the quality of the output, I've structured my workflow like this:
Each chat is a new programmer I'm working with.
I start every chat with a message like:
"My programmer gave me these files describing the project. I'm completely new to coding, so I need step-by-step instructions. Please review the files and tell me what to do next.”

When the chat gets too long, I tell Claude:
"I need to hand this project over to a new programmer. Please prepare updated versions of all files, including what we've completed and our current next steps.”
Then I open a new chat with the same initial message, treating it as if I were onboarding a new team member. This iterative approach works best for me.
You can work with Claude projects and upload your development docs to the project, or simply start new chats each time and attach the files in a new message.
The key is to create a new chat for each new feature or multiple minor updates. I've found that fresh, native Claude chats (only fresh ones!) work best. Claude tends to provide better solutions and cleaner code when starting a new session, rather than continuing a long conversation.
Now that we have code from Claude, the next step is to create or update the files on our server using Cursor.
We need Cursor because if you don’t have a coding background, you might not always know what to do with the code provided by Claude. Sometimes, it’s not a complete file but rather a few lines that need to be updated in an existing file.
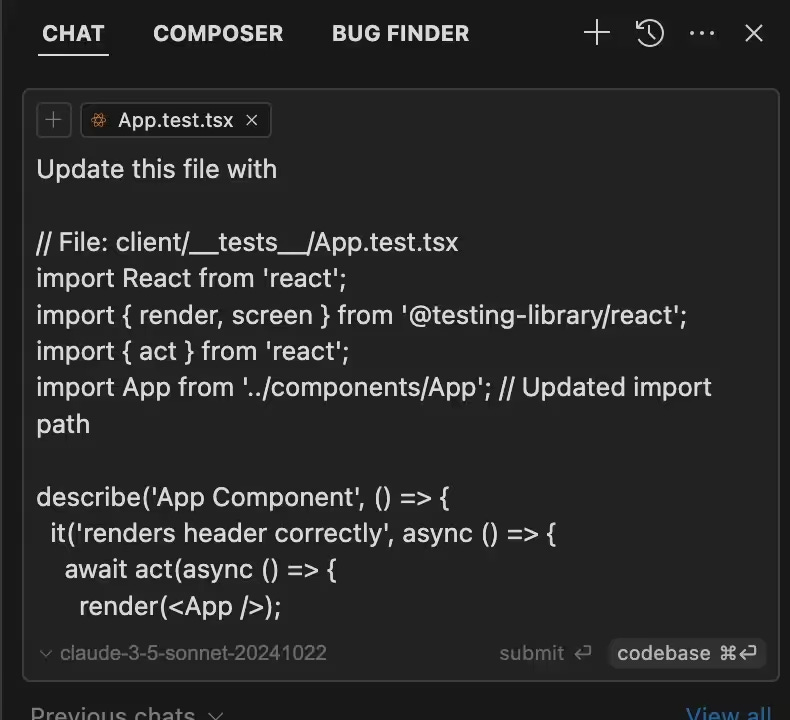
For all these code implementations, Cursor is essential—you can ask AI in Cursor to perform any action, such as:
✅ Creating new folders or files
✅ Updating existing code with new changes
✅ Installing all necessary development tools
Here's how I like to think about it. Claude is your lead developer who writes the code. Then we have Cursor, who's your system administrator, who manages files, installs tools, and helps with the CLI, logs, and debugging.
I've found that keeping AI coding and admin tasks separate is a lot more efficient. First, fresh chats usually generate the most optimized code. Second, it's cheaper—if you do all your coding in Cursor alone, you can hit even the Pro account limits pretty quickly.
AI tends to provide you with an overwhelming amount of information, which is why we have this part in the development rules:
## You work on only one problem, task, or file at a time.
If you need to update multiple files or solve multiple tasks, you choose only one task, and you don't move on to other tasks until that task is complete. The task is complete when it's tested and committed. If you need to update multiple files, you update them one at a time.
With this approach, AI won’t move on to the next task until we’ve tested and committed the update. Now, it's time to talk about testing, debugging, and version control!
Phase 5: Testing and debugging the code with AI
Reasoning models aren't just great for designing thoughtful project architectures—they're also incredibly useful for debugging code.
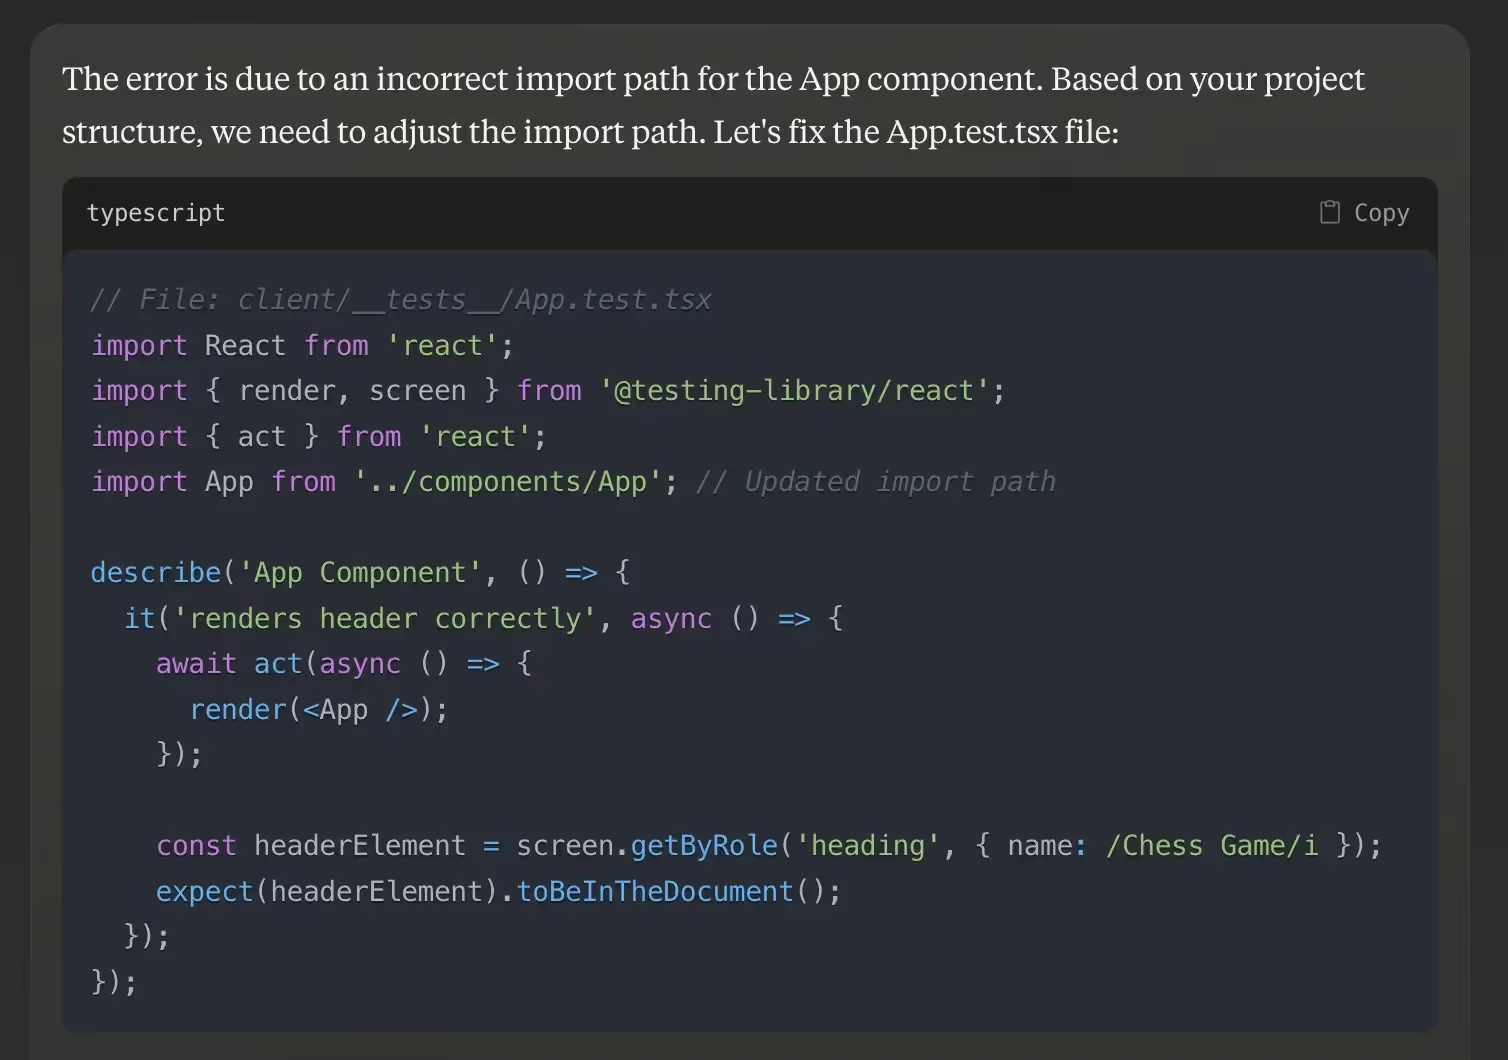
When Claude makes a mistake in the code, it may not always be able to fix it on its own. However, if you provide a reasoning model with enough context, it can often identify and resolve even complex bugs.
There are three main sources of debugging context:
Test results - Running tests can pinpoint exactly where the problem is.
Event logs - Logs from the server can reveal errors and unexpected behavior.
Data from your browser - Browser DevTools (console errors, network requests, etc.) can provide critical insight.
Getting browser data requires more manual work, but the first two (test results and event logs) can easily be outsourced to AI.
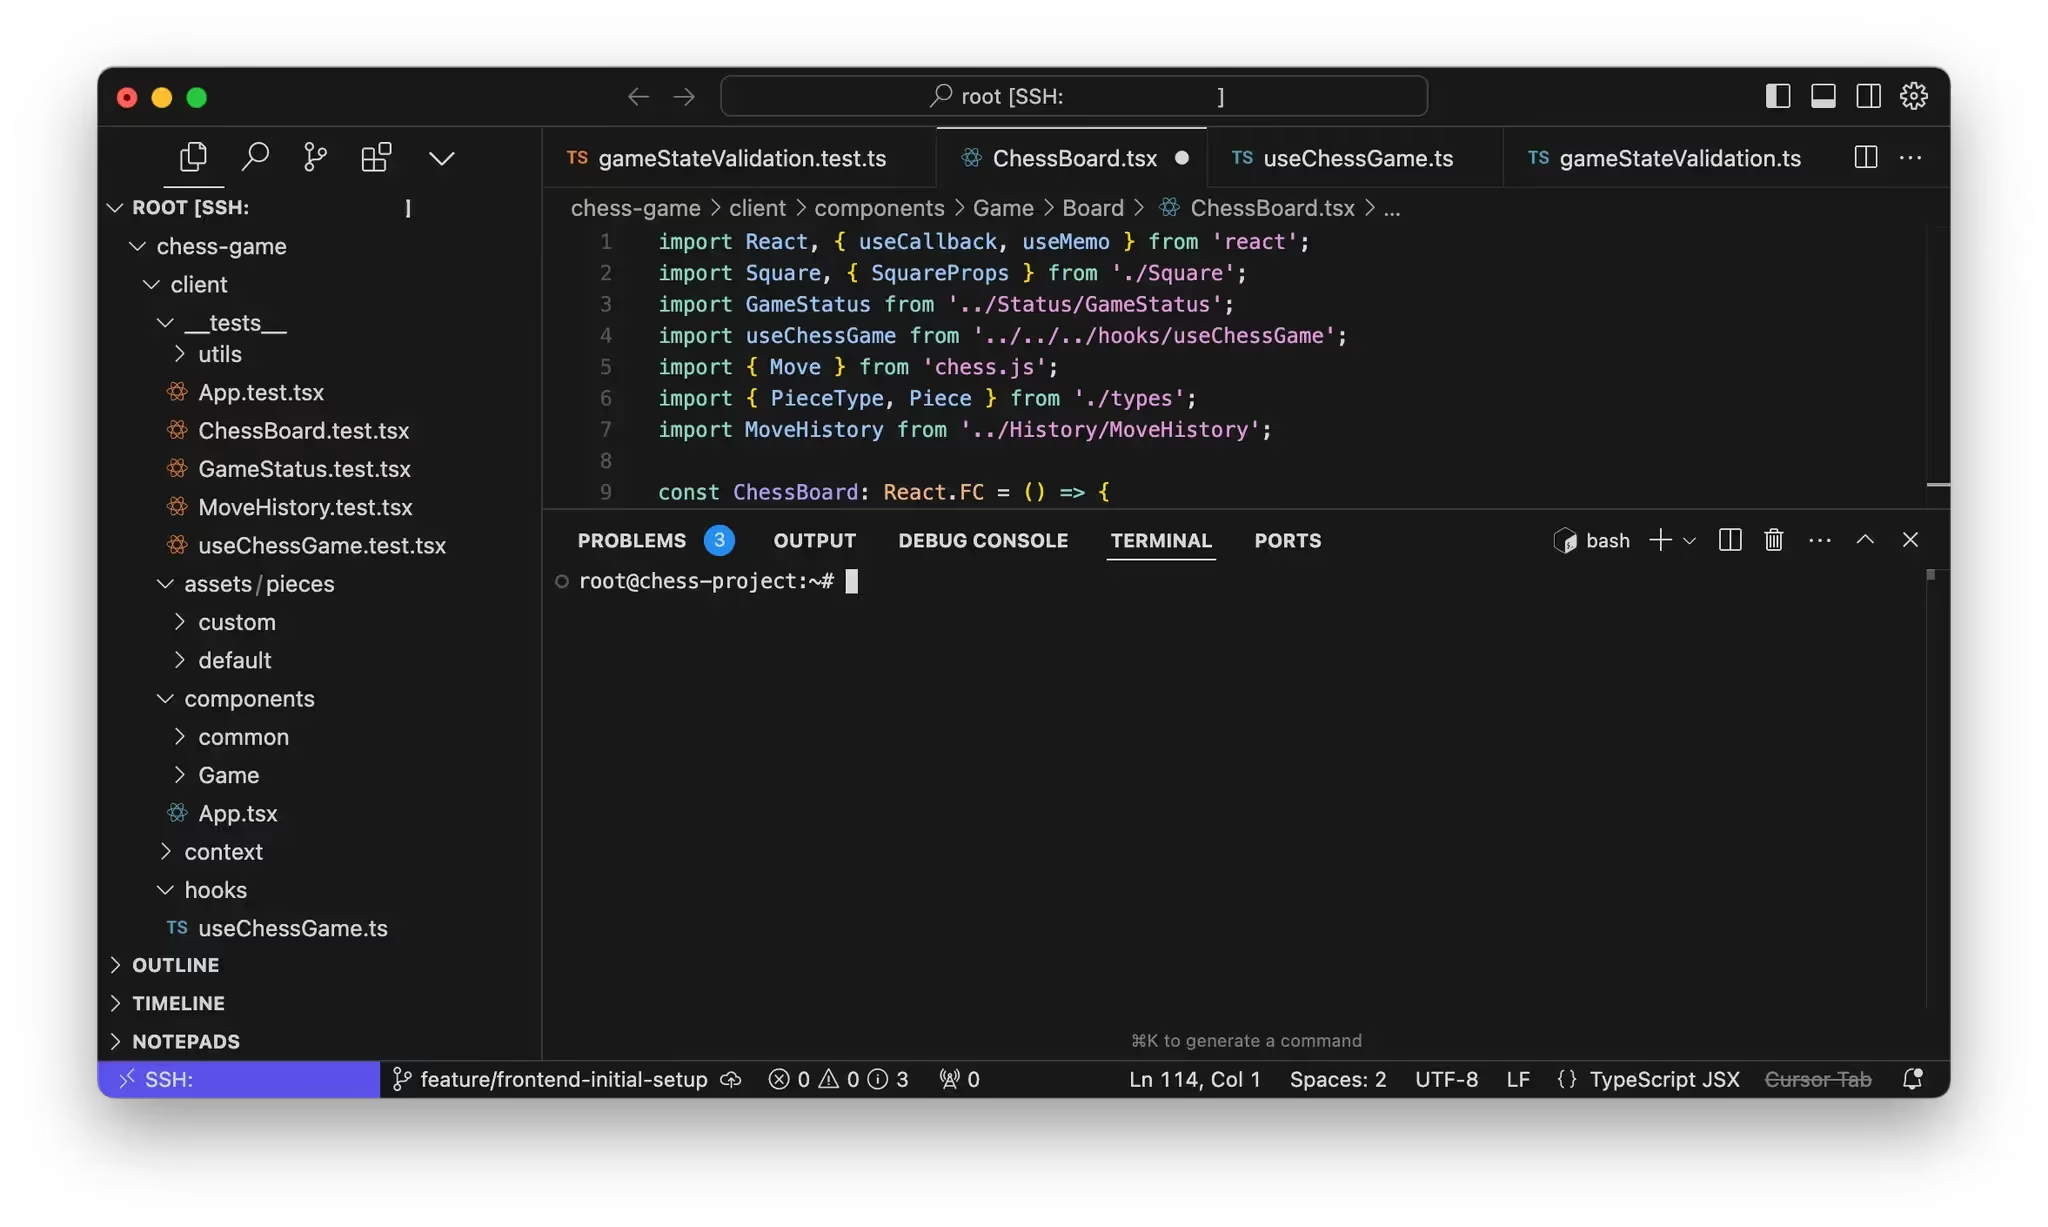
As you'll recall, we asked Claude to create tests for each new feature. Using Cursor, you can quickly execute a CLI command to run these tests and collect the test results.

Event logging works the same way. Claude integrates logging into the code, and you will see can access them using CLI commands or you’ll get them with test results.
Having comprehensive logs and detailed test results ensures that top reasoning models can diagnose and fix almost any bug in your code.
Phase 6: Setting up the version control system
Still, it’s extremely important to implement a version control system like Git and deploy your project to GitHub. That way, you'll always have a complete history of all project changes, securely backed up on GitHub. If something goes wrong, you can easily roll back to a previous version.
At some point during development, Claude will probably suggest setting up Git and connecting it to your GitHub account, with a step-by-step guide. Even if he doesn't, you can always ask Claude or Cursor's AI to initialize Git for your project and explain how to push code to GitHub.
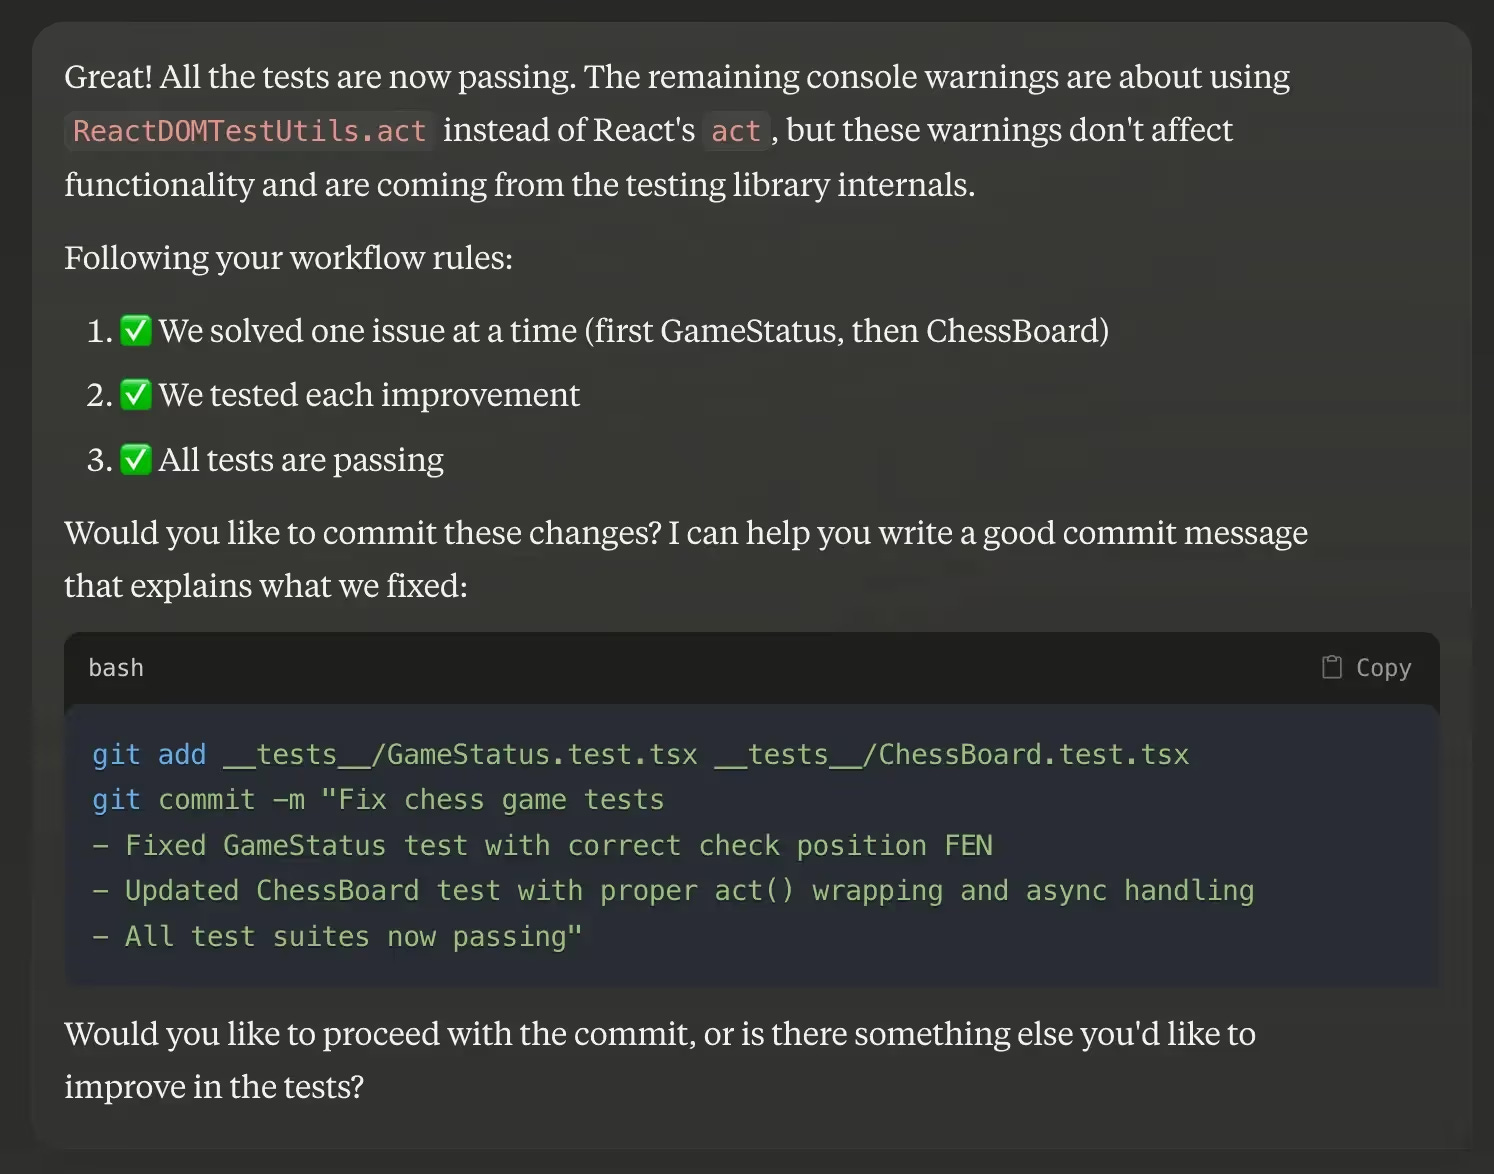
It's up to you to decide when to implement new changes. I prefer to implement every meaningful and completed update after it has passed all tests. You can ask Claude (or Cursor) to generate all the necessary CLI commands along with a detailed commit message summarizing the changes.
That's it! You now have a robust AI coding workflow that gives you full control over your code and allows you to build almost any project efficiently.
If you have any questions, feel free to reach out to me on LinkedIn or visit my company, Atmt.it, where we develop AI agents for businesses.
This post was written by Alexander Orlov.